Are you in the process of printing business cards or marketing material? If so, you want the finished product to have a clean, professional look that will leave a lasting impression on your clients and customers.
To achieve this professional look, you’ll need to know about bleed, which is essential to include in your design because it allows the printer to fit the piece to the finished size without losing any of the artwork.
Bleed also allows for a margin of error when trimming the document. But how do you accommodate this in your designs? Also, does every document need a bleed margin?
To answer these questions, read our guide on everything you need to know about fitting bleed into your designs.
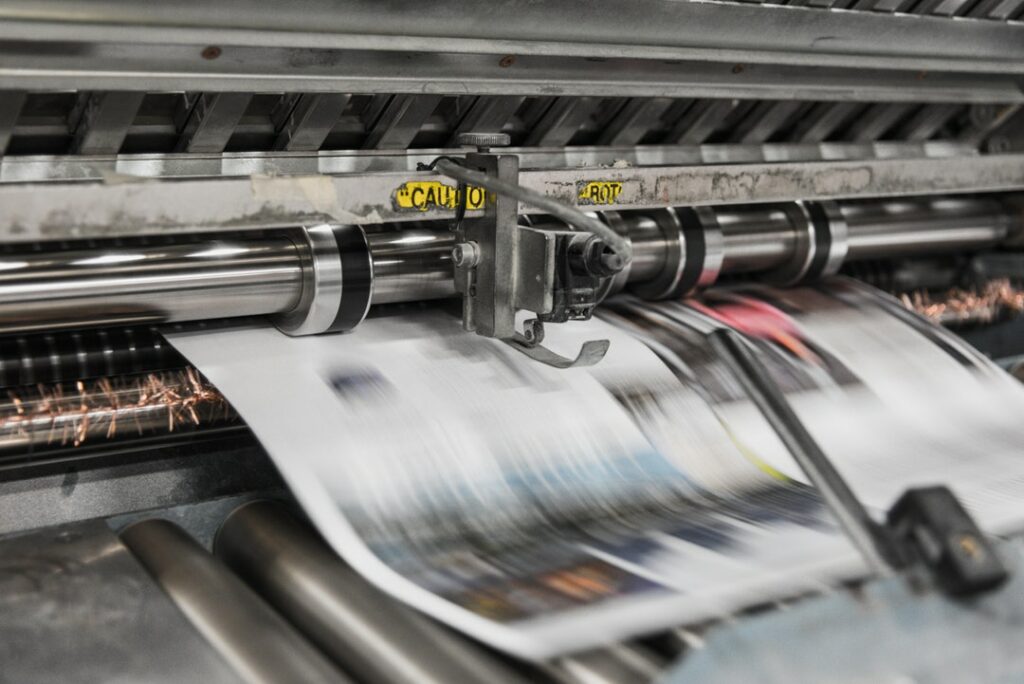
What Is Full Bleed Printing?
Full bleed printing is only possible on large format printers. These printers use large sheets of paper and are trimmed down to size at the end.
Bleed is the printing term that refers to the area on the design that extends beyond the trim edge of the paper. Typically, an extra 3mm is added to all the edges of the document. Because the bleed extends past the trim line, the resulting print will look professional when cut to size.
What Is Bleed vs Trim vs Safety vs Border Lines?
Along with bleed, you should also know a little about trim, safety, and border lines. These are extra guidelines you should set up when creating your document so you know where your artwork needs to lie. Let’s review these below in order of size.
Bleed Line
The term “bleed” refers to an excess of 3mm of image or colour beyond the trim line of your print. This is the outermost margin.
Trim Line
This is the line that you use to cut along. The trim line will be the final size of the document once cut to size.
Safety Line
It’s recommended to add a safety line so that any essential elements placed inside this margin won’t risk cropping off in the finished product. This margin should be 3mm inside the edge of the trim line.
Border Line
Leave a border line margin if your artwork has a border that doesn’t extend to the edge of the page. Leave at least 3mm space between your border and the trim line.
Why Bleed Is Important
Very few printers can print right to the edge of a page that must be fed through the printer. This edge where the feeder grips the paper is the part that the printer can’t print on and will display as a white border on the sides of your document.
As a result, any text or image that falls at these edges will be cropped off and look bad. For example, perhaps you have a regular 85x55mm business card with a solid black background. Then, you’ll want to increase the background size to 91mm x 61mm, allowing for that 3mm bleed margin we mentioned before.
By adding this bleed margin, your image will be printed to the edge of the finished product, ready to be trimmed.
How to Add Bleed
Setting up bleed lines and margins before beginning the design process is recommended. This will be easier than adjusting the design to meet the bleed at the end.
The steps to applying bleed margins will depend on the design software you’re using, but we’ll review steps for popular design software here.
InDesign
InDesign is ideal for designing print work because both bleed and safety margins can be set up when creating your document. To begin, create a new document, select the Print category, and then choose your Preset.
On the right-hand side, you can further customise your document. Scroll to find and open Margins and set your bleed margins. Set your bleed lines to 3mm for both top and bottom, inside and outside. For now, you don’t have to worry about the slug settings.
Illustrator
Much like setting up InDesign, you’ll begin by creating a new document. Again, select the Print category and pick a Preset to customise. Set your bleed lines on the right-hand side to 3mm for both top and bottom, inside and outside.
However, unlike InDesign, Illustrator doesn’t allow the user to set up margins, so you will set your other margins using guides once the document is created.
Photoshop
Photoshop is a little different, despite being another Adobe product, so it will need a bit more effort on your part. To add a bleed, when creating your document (File > New), add 6mm to your final document size.
For example, if your document is A4 210mm x 297mm, you will want to set the size in Photoshop to be 216mm x 303mm. Here, your bleed line will be the edge of the page.
Remember to ensure that rulers are enabled and guides are visible. Next, you’ll use guides to create your trim, safety, and border lines. These guidelines won’t be visible on your final print, so you might want to create a fine line over the trim line. Make this line as light as possible, so you know where to cut once the print is complete.
Don’t Delay Your Printing Today
Learning about bleed, trim, safety, and border lines will ensure your designs and prints always look professional. No matter what design program you use, you will always be able to accommodate for bleed, so don’t be afraid to refer to the help guide.
Once you’ve got your artwork print-ready, visit our site to order our Next Day or Next Week printing online, and we’ll handle it from there. And, to make your life easier, we’ve made multiple print templates for you to use in CorelDraw, Adobe Indesign, Adobe Photoshop, and Adobe Illustrator.